Spring Boot and OSGi integration sample
Git Repo
https://github.com/hailiang-wang/springboot-osgi-sample
SpringBoot / OSGi framework
This project is showing a simple way to use a SpringBoot application server and extending it with OSGi bundle.
The application is including a service which is loading and exposing the Felix OSGi Framework. With a proper configuration you will be able to use it for "plugins".
The target it is to have a lit of bundles implementing an interface exposed by the core. The main application will use this class to invoke bundles code.
Software Architecture
Inside the project there are several modules:
- commons is a module shared with bundles and containing Interface for shared service class.
- core is the main project containing controllers for API, the OSGi framework, ...
- sample-bundle is a test bundle. By default it is deployed during the build inside the auto-deploy folder.
To autodeploy bundles, the project is using the felix fileinstall bundle. The maven build is adding the bundle library to the correct OSGi framework lib folder.
<outputDirectory>${project.build.directory}/internal-bundles</outputDirectory> Build the project
With a simple
mvn clean installall the files will be placed in the correct folders.
Start the application
Once build you can start the SpringBoot application within you terminal console (or any IDE will work the same)
java -jar core/target/core-0.0.1-SNAPSHOT.jarThe application will even load the sample bundle within the plugins folder.
You can play with it simply removing, adding back, ... and check what the OSGi server will be
Docker
The application is coming with a sample Dockerfile which shows how an OSGi / SpringBoot application can be packaged, following the Docker best practices.
To build the docker image you can use the following command from the project root folder:
bash docker build -t osgi-sample -f core/src/docker/Dockerfile core To start the container once build you can use a command like the following (you need to adapt it based on your environment):
docker run -it \
    -e pluginsService.org.osgi.framework.storage=/app/felix-cache \
    -e pluginsService.felix.auto.deploy.dir=/app/internal-bundles \
    -e pluginsService.felix.fileinstall.dir=/app/plugins \
    -v /Users/Marco/Projects/springboot-osgi-sample/plugins:/app/plugins \
    -p 8080:8080 osgi-sample
The plugins/bundle are managed in a docker external volume. This means you can easily add them without rebuilding your base image. Only the internal-bundles folder is inside the docker itself. This because this JARs are considered mandatory for this sample project.
As we are using a multi layer best practices splitting libraries from project source file. If we do not change the dependencies, only the last layer of the Dockerfile will be updated when we modified the source code. This will also allow a quick deployment of your images.
Test the application
The application is exposing simples APIs:
GET /v1/samples to retrieve the list of installed bundles.
curl http://localhost:8080/v1/samples
[
"com.mornati.sample.sample-bundle"
]
GET /v1/samples/<bundle-name> to execute the Action method inside the deployed bundle with the bandle-name.
curl http://localhost:8080/v1/samples/sample-bundle
{
"body": "Action Worked !!"
}

curl http://localhost:8080/v1/samples/sample-bundle2
{
"body": "Plugin not found for sample-bundle2"
}
GET /v1/samples/sample-bundle/notification to execute the Notification method inside the deployed bundle with the bandle-name.
curl http://localhost:8080/v1/samples/sample-bundle/notification

{
"body": "Notification Processed..."
}
Plugin Samples
Inside the project there are two different bundle samples. A first one using the BundleActivator and the maven-bundle-plugin to package it; a second one which is using the SCR service registration (instead of the Activator) and with the bnd-maven-plugin.
Both two are working and bringing to the same expected result.
BundleActivator
The Bundle with the Activator is using directly the OSGi Ativator workflow: inside a bundle there is a Activator class which is managing the start and stop operation. In this project, as for each bundle the operation is always the same (register a service to the BundleContext), instead of directly implementing the BundleActivator interface, there is an AbstractPluginActivator which is able to take care to these operations for the bundles.
SCR
The Service Component Runtime is using a different approach: if you want only to register services implementing an interface, you can use annotations to allow the core application to identify which service should be registered.
This is managed by the Apache Felix SCR bundle.
Inside your bundle, to define a `IPlugin service you just need to create your class in the following way
@Component(service = IPlugin.class)
@Slf4j
public class MyBundle implements IPlugin {
  }
The @Component annotation is the one doing the tricks here.
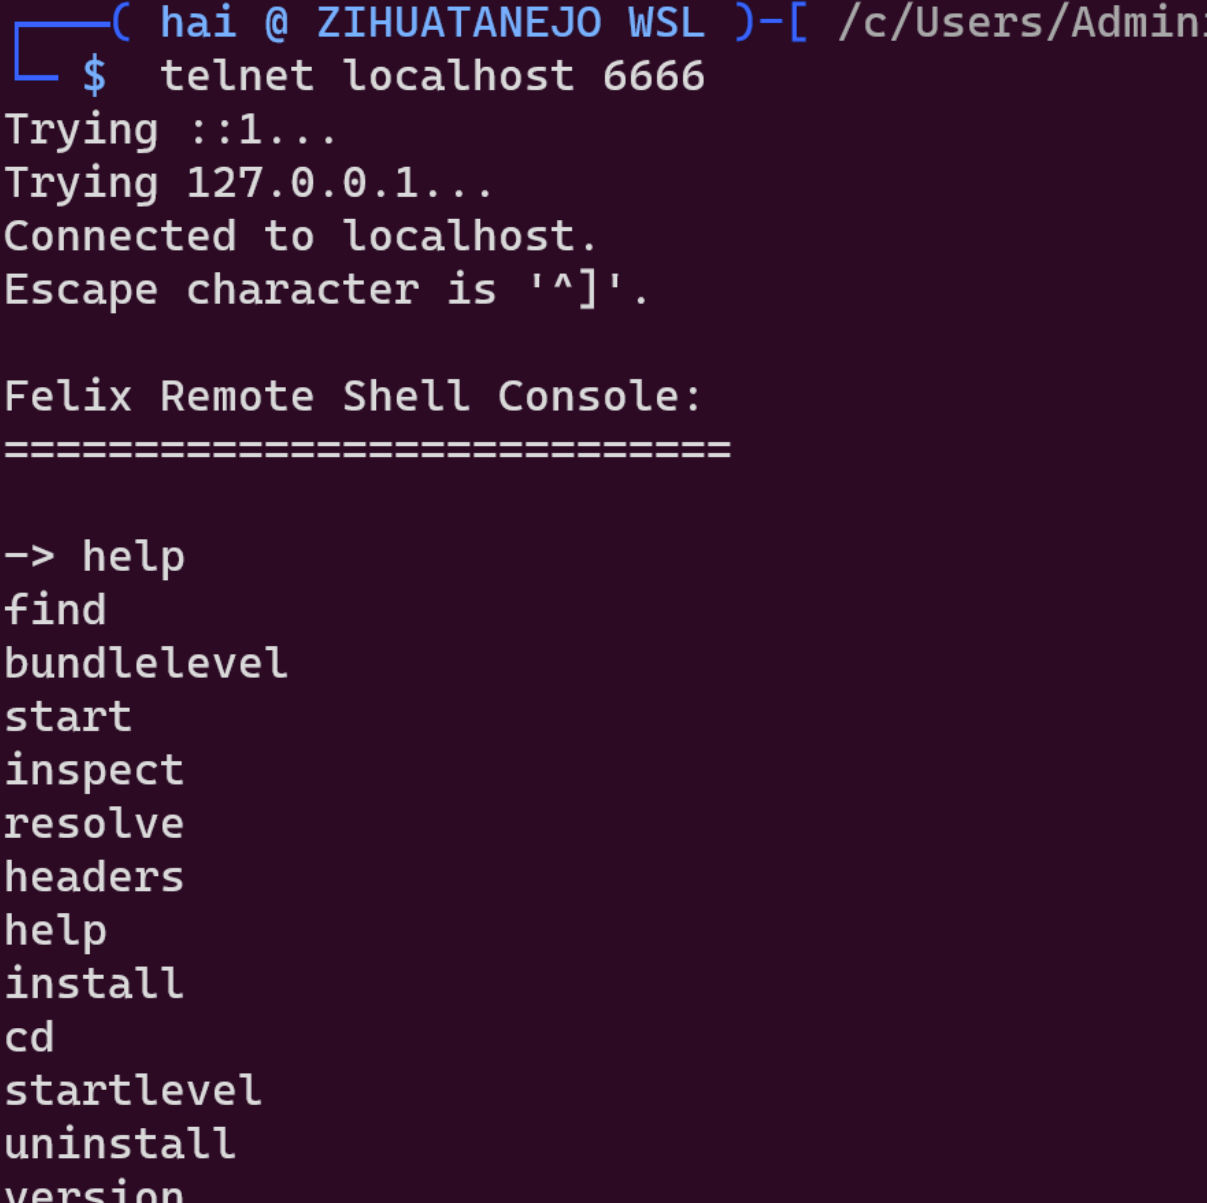
Felix Remote Shell Services
telnet localhost 6666使用命令行工具执行命令。
比如:ps 列出插件情况。